
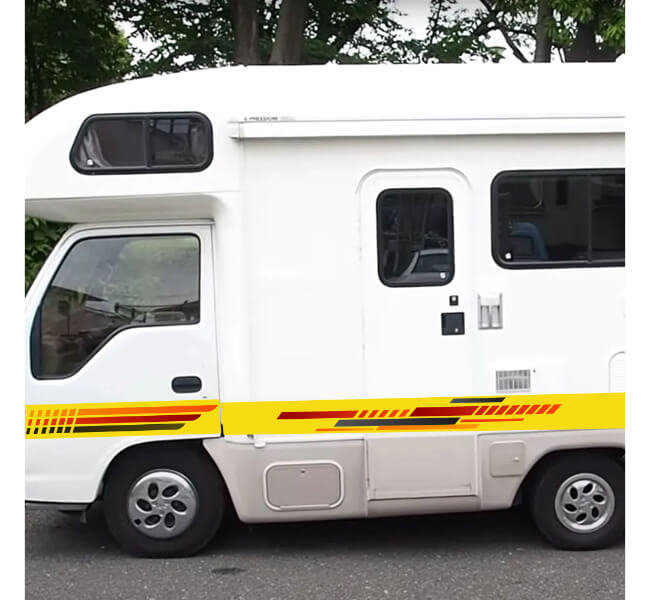
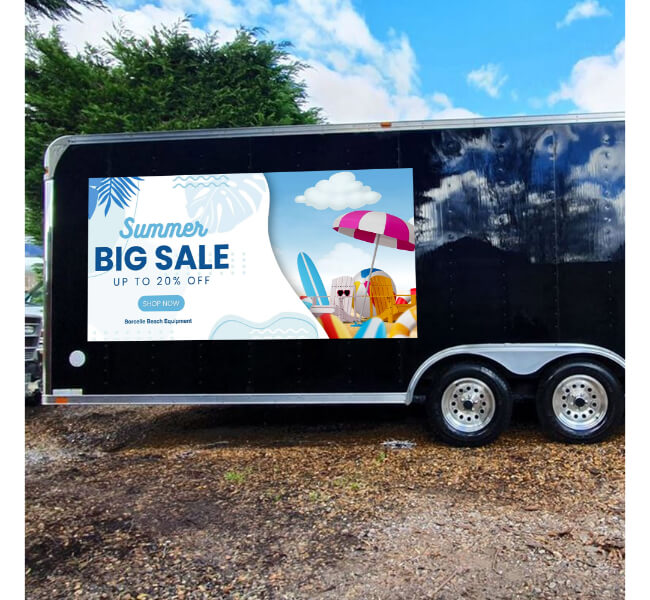
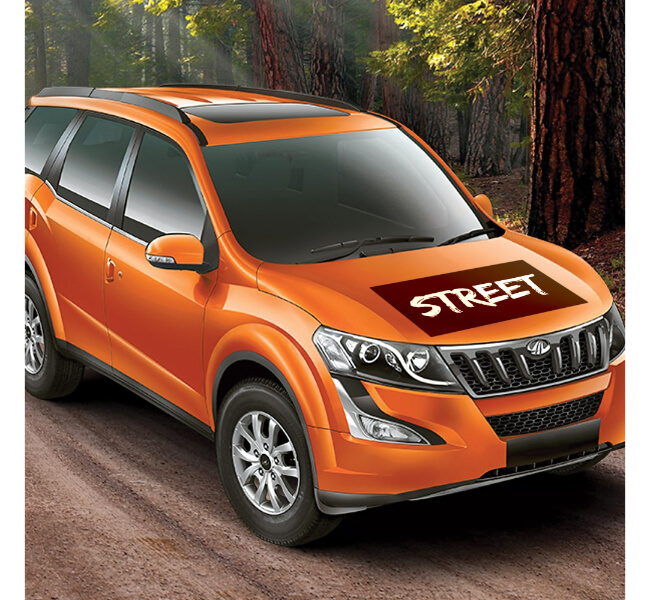
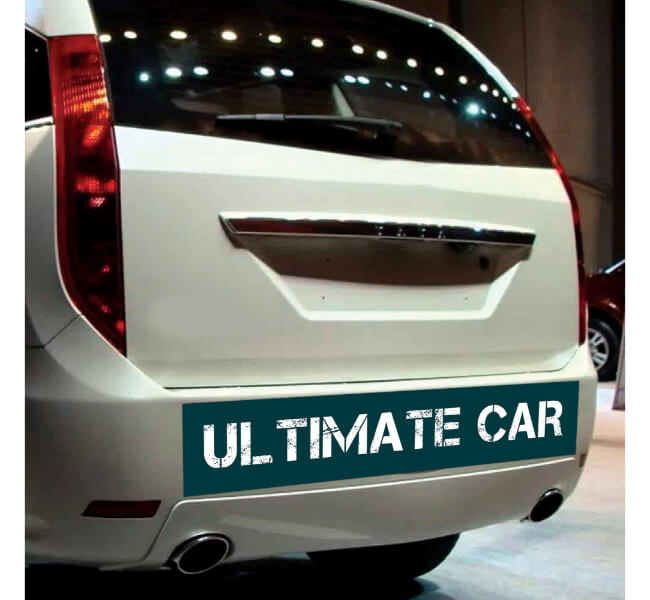
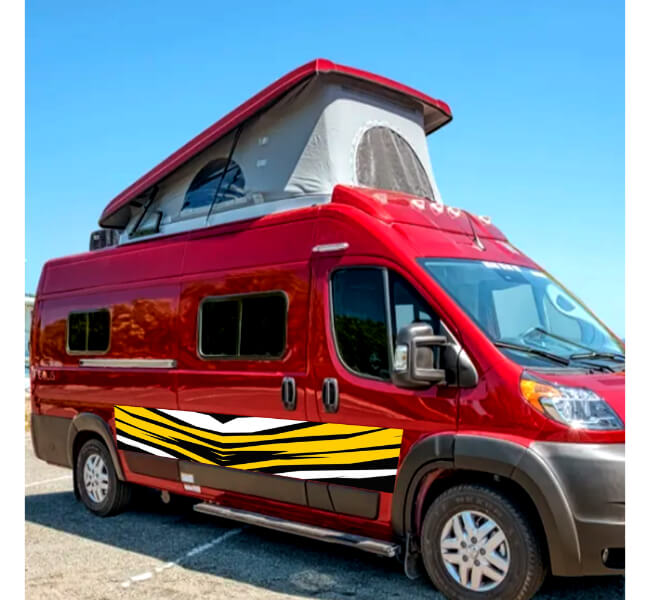
Custom Camper Van Decals on 4mil white PVC, UV printed at 720 DPI, die-cut to any shape up to 58.5in.…Custom Camper Van Decals on 4mil white PVC, UV printed at 720 DPI, die-cut to any shape up to 58.5in. Water-resistant, 3 to 5 years outdoor rated. Ships in 1 to 2 days.
Custom Camper Van Decals run on 4 mil white PVC calendar film with a matte finish and permanent adhesive. Every decal is UV printed at 720 DPI minimum and die-cut to your exact design shape. These specs make them the right call for van body panels, cargo doors, and side graphics up to 58.5 in wide.
Key highlights
4 mil white PVC calendar film forms the base of every decal we print. It's a thin, flexible vinyl sheet that conforms to flat and slightly curved van body panels without bubbling. The permanent adhesive bonds to painted metal, glass, and plastic. Your decal stays flat and tight against the van surface for 3 to 5 years without lifting at the edges. Tough enough to take road debris, car washes, and direct sun without peeling. A2Z Printing Hub uses matte-finish PVC on every camper van decal, which means no glare bouncing off the van surface in bright sunlight.
UV printing cures ink instantly under ultraviolet light, locking in bold, scratch-resistant color at 720 DPI minimum. Your logos and lettering stay crisp and readable at highway speed without fading in direct sun. That's the print quality angle, and it matters for business vans where a soft, washed-out logo undermines the brand. But it also matters for lifestyle graphics where sharp mountain silhouettes or name lettering need to look clean 2 years down the road, not just on day one.
Die-cut finishing cuts the vinyl to the exact outline of your design. No standard rectangles, just your actual logo shape or graphic. Kiss-cutting (cutting through the vinyl only, leaving the backing sheet intact) keeps the decal easy to peel and apply without tearing. Orders wider than 58.5 in ship in multiple panels with alignment guide markings for seaming on the van surface.
Full vehicle wraps covering the entire van surface from roof to rocker panel fall outside what we do here. We cut decals for specific areas. For full coverage, a local wrap installer is the right call.
Need to pull signage off the van every evening? Magnetic Signs attach and remove in seconds with no adhesive on the paint.
Rear window graphics where the driver needs to see through the decal are a different product entirely. Perforated Window Decals show branding on the outside while the driver sees through from inside.
Use these buying points to choose the right Custom Camper Van Decals configuration.
Business branding calls for clean, readable placement on the largest flat panels. Door decals sized 12 to 24 in tall fit within the panel recess on most cargo vans, so the graphic sits flat without wrapping onto a seam or body crease. Keep the logo on the driver and passenger doors, then put a website or phone number on the rear doors where stopped traffic reads it directly.
Personal camper graphics work differently. Measure the flat run between your wheel arch and window line before uploading anything. Most camper van side panels give you 36 to 58 in of usable flat space, which fits within our single-piece maximum of 58.5 in wide.
Doors give you the biggest flat surface on a cargo van. Rear panels face stopped traffic at intersections, so a phone number or web address there turns every red light into a lead.
Side panels suit lifestyle art, name lettering, or large route graphics. Stay within 58.5 in on any single piece. Orders wider than that ship in multiple panels with alignment guides.
Permanent adhesive is the right call for any graphic staying on the van longer than a few weeks. The 4 mil PVC calendar film bonds to painted metal and holds up 3 to 5 years outdoors without lifting.
But if you run the same van for personal trips on weekends and business routes on weekdays, swapping a permanent decal is not practical. Magnetic Signs attach to the door in seconds and pull off clean with no adhesive on the paint.
One van follows the standard process: upload, approve the proof, ship in 1 to 2 business days. Fleet orders of 10 or more vans qualify for volume pricing applied automatically at checkout. Production may run 1 to 2 days longer than the standard window. Contact us before ordering to confirm the timeline fits your delivery date.
Some vans pull double duty: business runs Monday through Friday, personal trips on weekends. Magnetic Signs attach to the door with no adhesive and pull off in seconds, so your paint stays untouched when you swap between uses.
Your rear glass needs a different product. Perforated Window Decals carry your branding on the outside while the driver sees clearly through from inside. Custom Rear Window Decals cover the full glass panel when visibility is not a concern.
Door graphics, bumper copy, and rear panel details each sit at a different viewing angle. Ordering them together keeps your color and logo consistent across every surface.
Custom RV Decals and Custom Trailer Decals use the same 4 mil PVC material and UV print process. A van owner who also tows a trailer can match graphics across both vehicles from a single order.
It will not damage factory paint when you remove it correctly. Apply low heat from a heat gun or hair dryer to soften the adhesive, then peel slowly from one corner. Any residue left behind cleans off with rubbing alcohol or Goo Gone without marking the surface. Worth knowing: freshly repainted panels (under 30 days old) need more cure time before you apply any adhesive vinyl.
Yes, after the adhesive fully cures. Wait 72 hours after application before any wash. For the first 2 weeks, hand wash around the decal area and avoid directing a high-pressure nozzle at the edges. After that 2-week window, normal automatic car wash use is fine.
Start from the center of the decal and squeegee outward toward each edge in overlapping passes. Peel the backing sheet in sections rather than all at once, so you keep the vinyl controlled. For decals over 36 in wide, a second person holding the far edge steady cuts the chance of a crooked line by a lot. Application instructions and a squeegee ship with every order.
UV printing cures ink instantly under ultraviolet light, locking it into the vinyl surface so it resists fading. Our 4 mil PVC calendar film carries an outdoor rating of 3 to 5 years across most US climates. That covers direct sun, rain, road debris, and car washes through multiple seasons without the color going dull.
Yes. Submit one design file and specify your quantity at checkout. Volume pricing applies automatically for fleet orders, so the per-unit cost drops as the order size grows. Orders of 10 or more vans may need 1 to 2 additional production days beyond the standard window. Contact us before placing a large fleet order to confirm the timeline.
File formats we accept: PDF, PNG, JPG, and AI. Vector files (AI or PDF built in a vector program) scale to any size without losing edge sharpness, so they're the best choice for logos.
Resolution matters most on smaller decals. 150 DPI is the floor for any size. Go to 300 DPI on decals under 4 ft wide, because that's the range where viewers get close enough to catch a soft edge.
For die-cut shapes, upload your artwork on a transparent background. We cut to your design outline exactly as submitted. Not sure about your file? Our free online design tool builds the layout for you, and a professional design service is available at checkout.
Submit your artwork on a transparent background for die-cut decals and our team sends you a free digital proof within 24 hours.
Standard production runs 1 to 2 business days after proof approval. Orders placed before 12 PM EST go into production the same day.
Fleet orders of 10 or more vans may need 1 to 2 additional production days. Contact us before ordering to confirm the timeline for your delivery date. Volume discounts for orders of 10 or more apply automatically at checkout. Large decals over 58.5 in ship rolled in tubes with panel alignment markings.
Order before 12 PM EST and your decals go into production the same day. Most orders ship within 1 to 2 business days.
Talk to us about your show dateNothing prints until you approve it.
You get a free digital proof first. If your order arrives damaged or off proof, we reprint it free. Checkout is secure and every order ships from the USA.
If your order arrives damaged or doesn't match your approved proof, we reprint and reship at no charge. No forms, no back-and-forth.
Every order starts with a free digital proof so you see the exact shape, size, and color before we print anything. A2Z Printing Hub ships from within the USA, so your decals move through domestic carriers without customs delays. Checkout accepts all major credit cards and PayPal, and your payment data stays protected on every order.


Before you leave, save on custom printing made to get your brand noticed.
Get 20% off your purchase
Save up to $60. Terms apply at checkout.